前期准备:
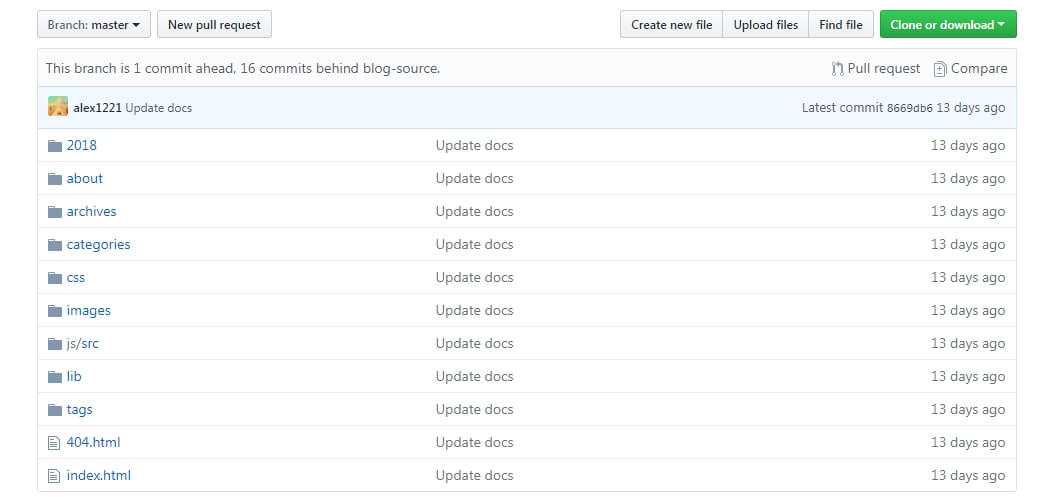
1、在Github上搭建好自己的 Hexo 博客,将博客代码存在 master 中;
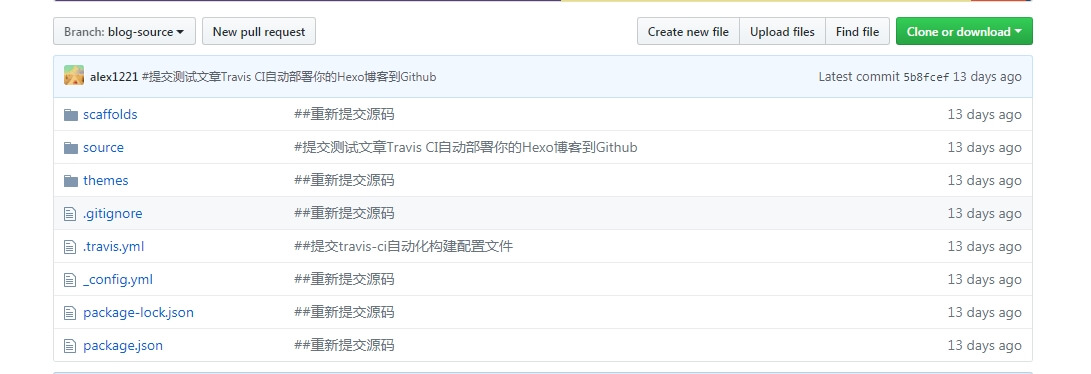
2、并将源码放在某个分支上,如:blog-source;
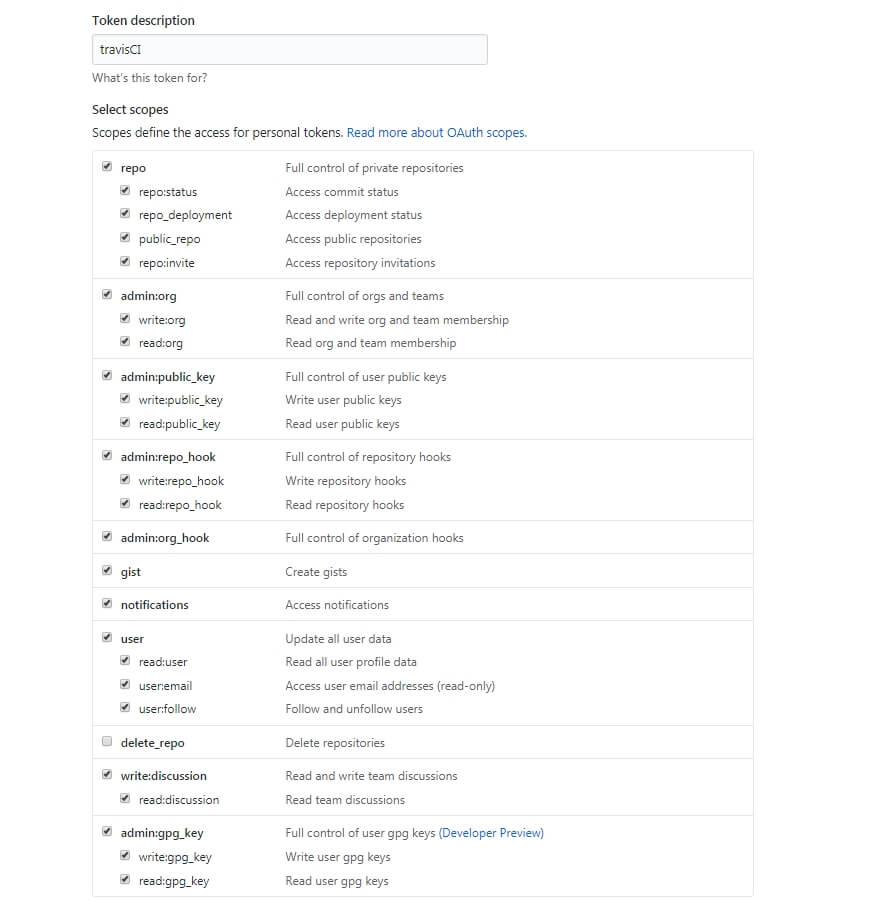
3、在github上生成Access Token;
A、点击头像下的 setting ;
B、点击 Developer settings;
C、点击 Personal access tokens;
D、点击 Generate new token;
E、按照下图创建Access Token,然后将生成好的临牌拷贝下来。
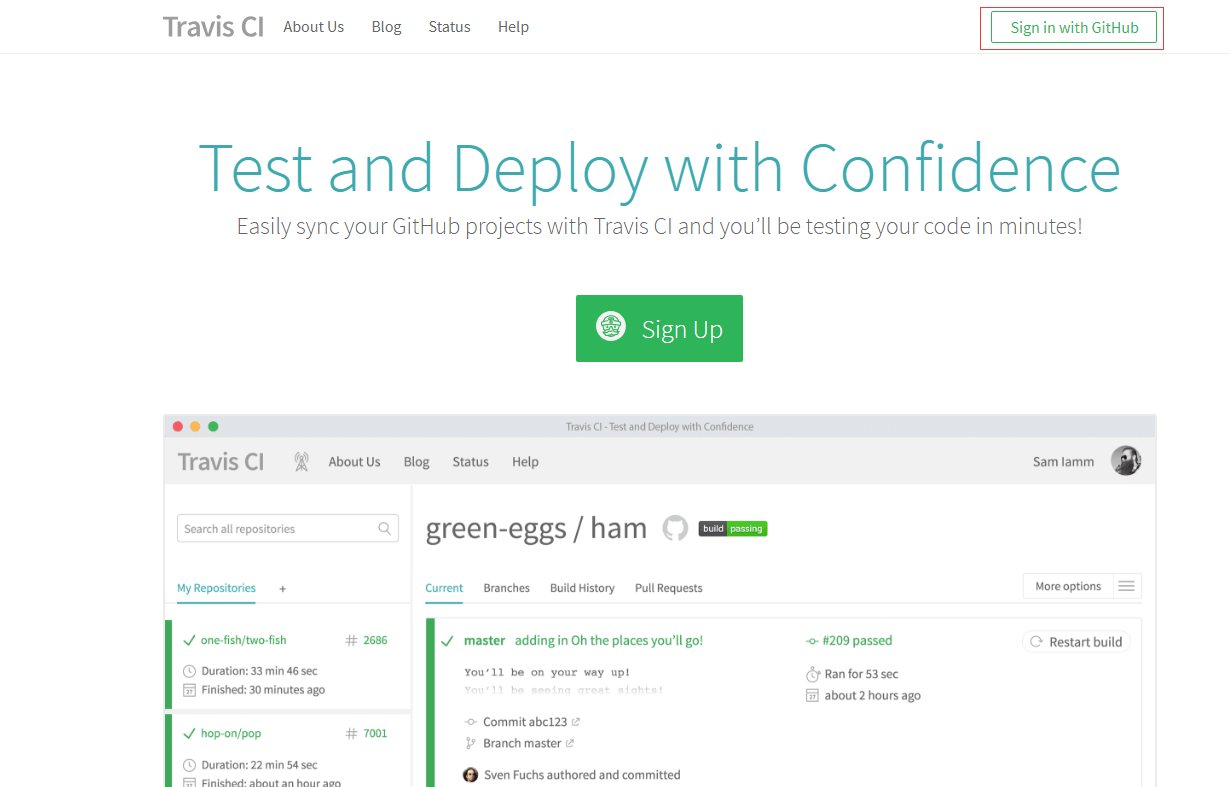
Travis CI 上的设置
1、打开 Travis CI 网站,利用Github账号登录;
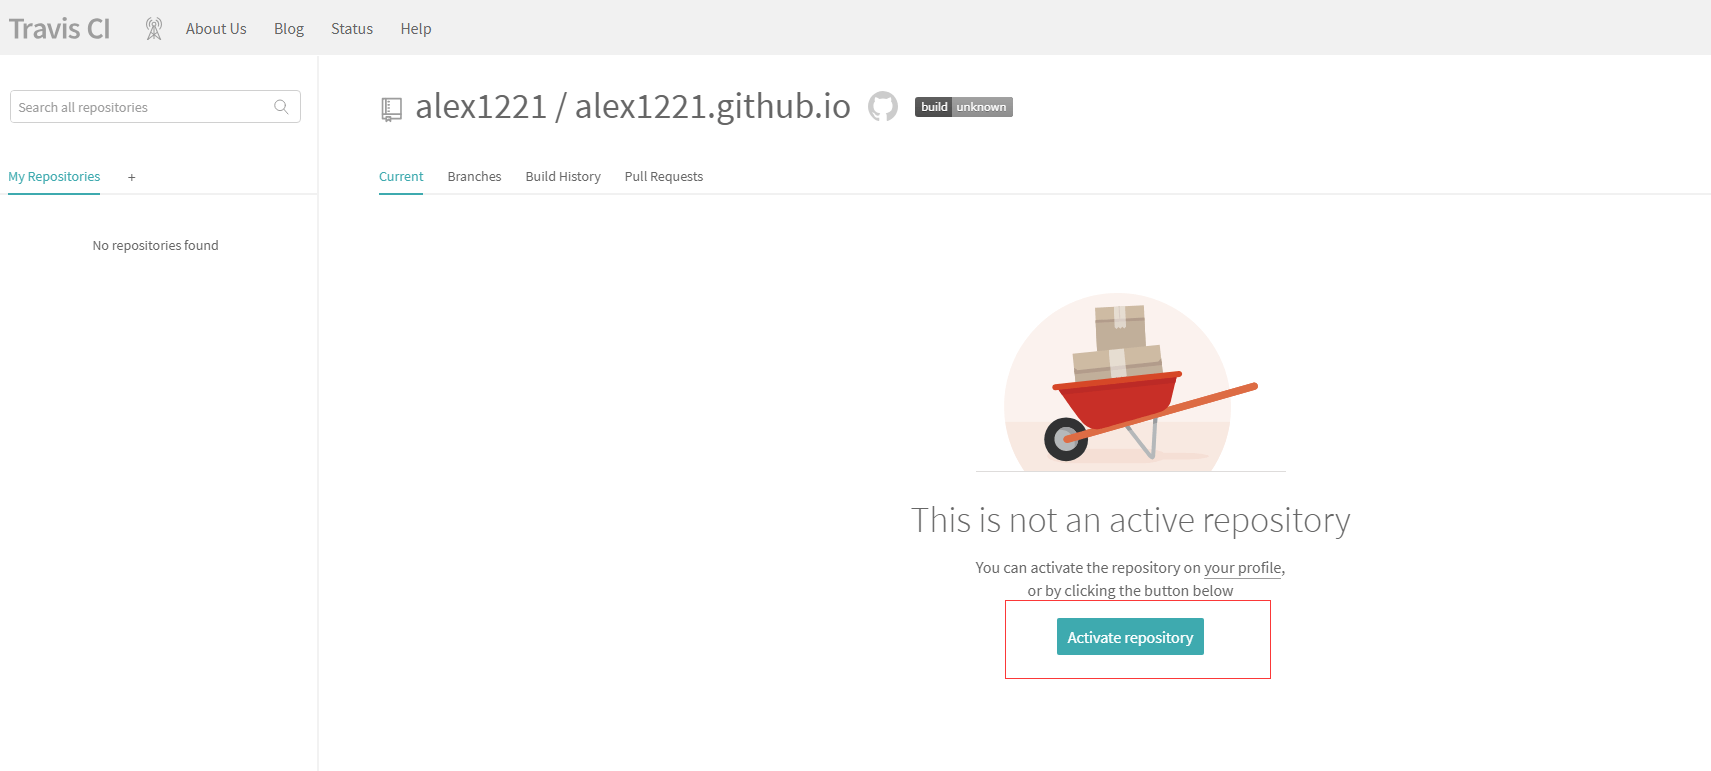
2、选择 Hexo 博客的代码库;
3、激活代码库;
4、并点击 More options 中的 settings 按钮,进入设置页面;
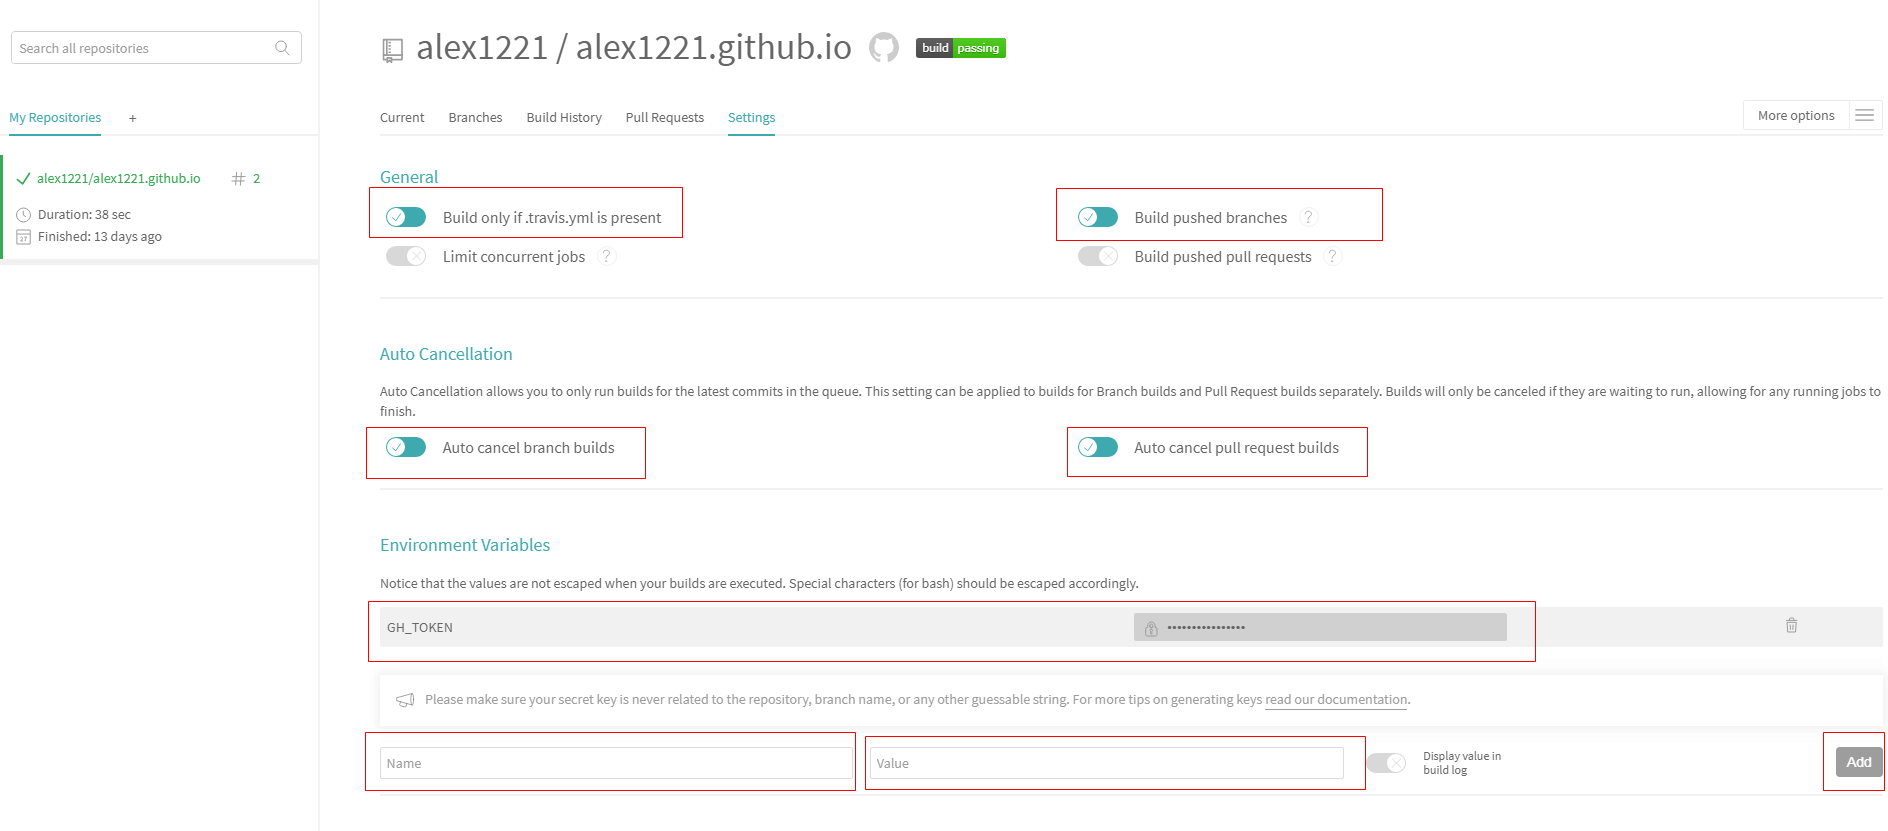
a、并按图中选中 General 中的 Build only if .travis.yml is present 和 Build pushed branches;
b、在 Environment Variables 中添加口令,Name 自定义一个,我写的是 GH_TOKEN, Value 就输入前期准备中在github上生成Access Token,并点击 Add。
5、源代码的仓库里创建一个.travis.yml配置文件,放到源代码的根目录;
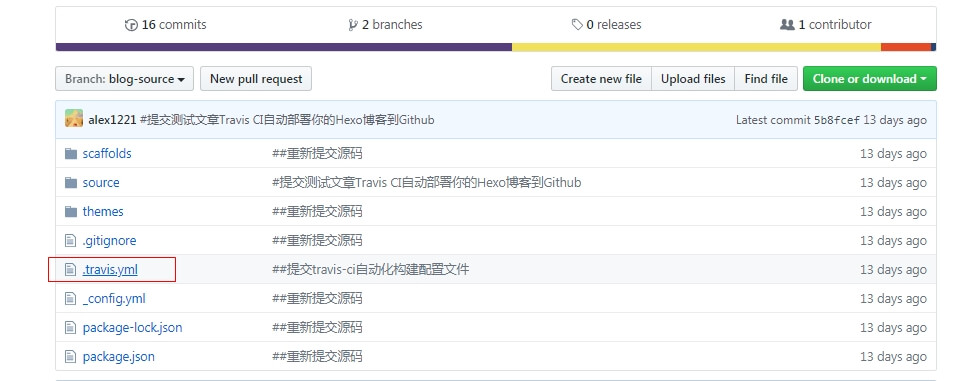
内容如下:
1 | language: node_js |
注意一下几点:
A、GH_TOKEN 就是在 Environment Variables 中添加口令的 Name;
B、branches 下面的 only 是你放源码的分支名字;
C、env 下面的 global 变量 GH_REF 是你自己的博客的 Github 地址(Clone with SSH)。
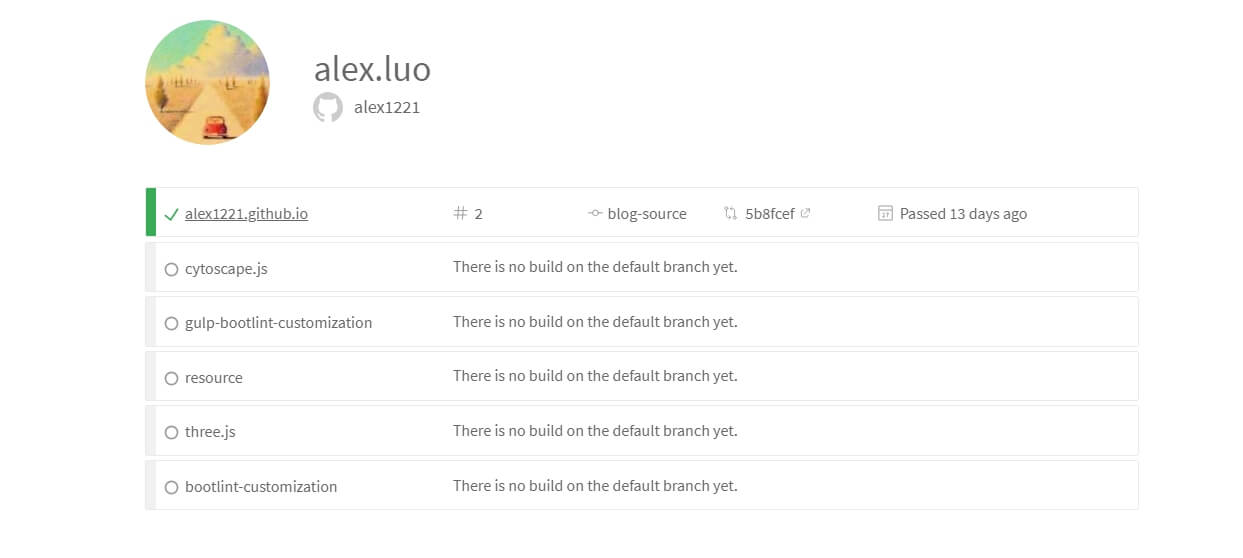
6、测试并提交代码到 Github 中,然后去查看 Travis CI ;
自动化构建中: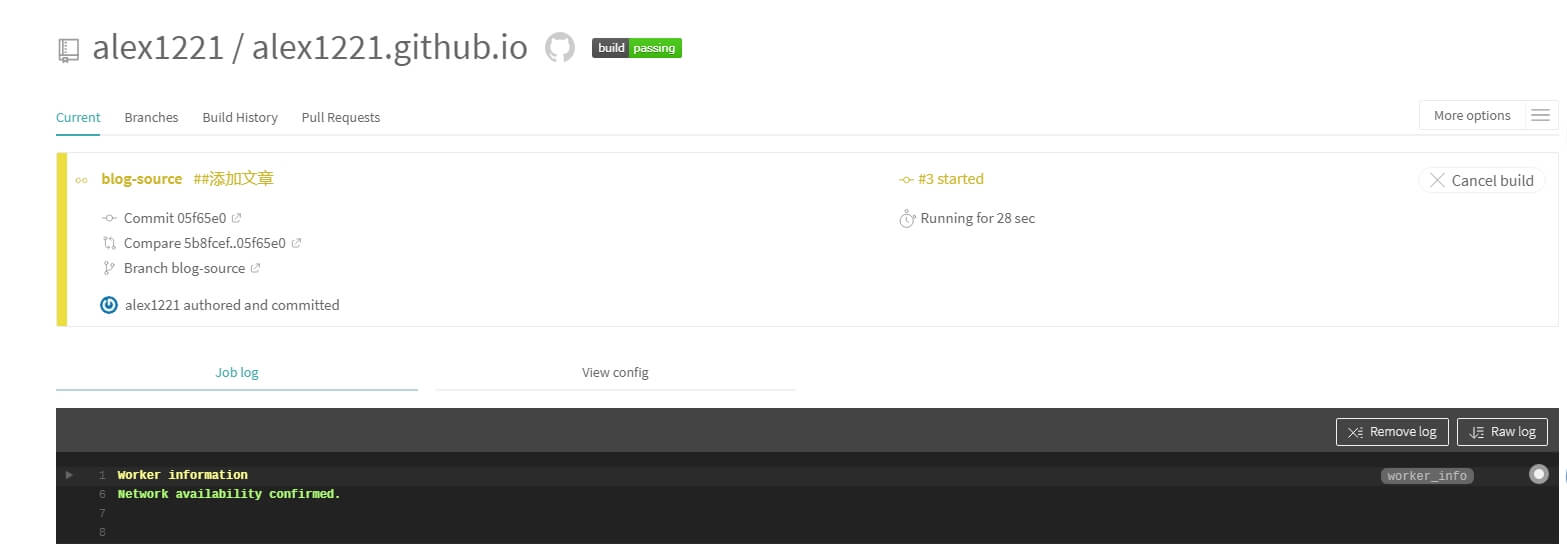
构建结束:
7、构建完成后,博客上就可以看见这个文章了。